![Neon Logo- high Res-23.png]](https://support.neonscreens.com/hs-fs/hubfs/Neon%20Logo-%20high%20Res-23.png?height=50&name=Neon%20Logo-%20high%20Res-23.png)
Phase 1: Creating the Custom Zone Layout
1. Navigate to Screens
-
Log in to the dashboard at https://admin.neonscreens.com/login/.
-
Click on the Screens tab.
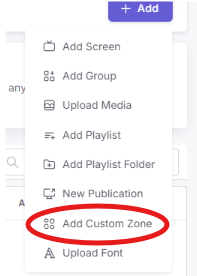
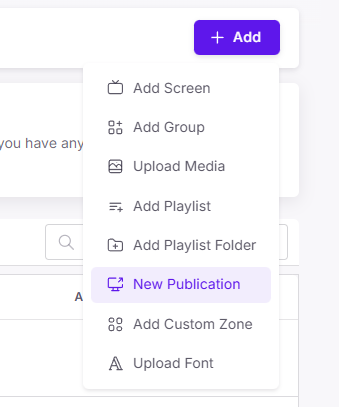
2. Add New Zone
-
Click the Blue + Add button.
-
Select Add Custom Zone from the dropdown menu.
3. Configure Basics
-
Add Background: Click Background and Upload your menu background image.

-
Choose Layout: Select either Landscape or Portrait orientation.
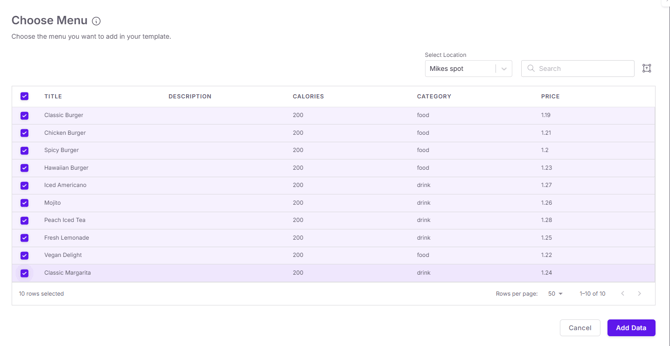
4. Define Price Zones
-
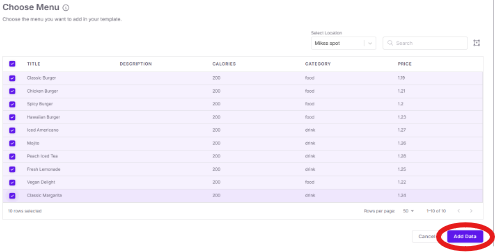
Click Add Data.

-
Select the specific POS Item(s) you would like to map from the list.
-
Critical Check: Ensure the Item ID matches your POS exactly.
-
Click the Add Data button in the bottom right corner.
5. Drag and Resize
- Price boxes for each item selected will populate in the upper left corner of your background image.
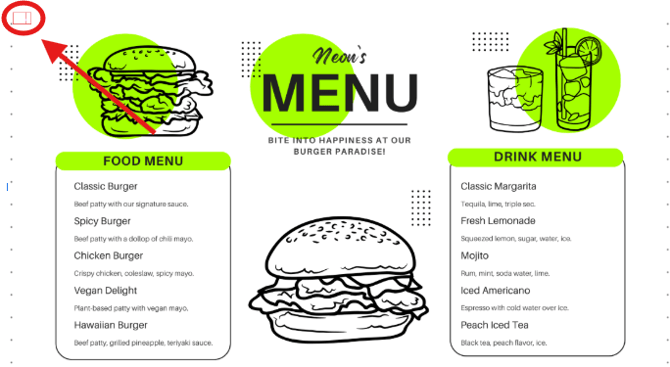
-
Move the small price box to the correct spot on your menu background.
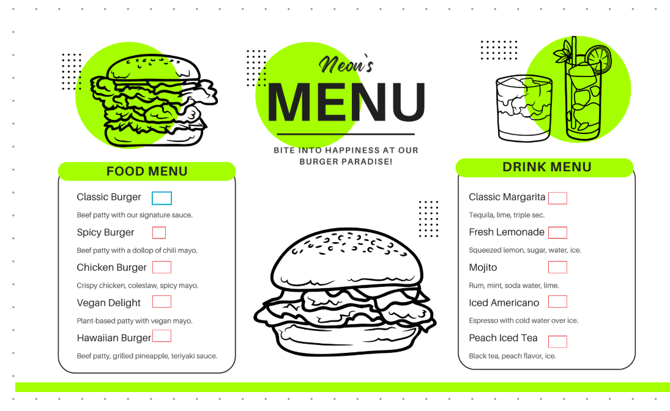
6. Repeat & Save
-
Repeat this process for every single menu item price you need to display.
-
Once all prices are positioned, click Save.

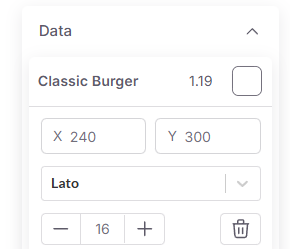
Tip: You can make drag-and-drop adjustments, as well as utilize the X and Y coordinate selections to make pixel perfect alignment.
You can also edit Font, text size, and color with the tools on the right side of the screen while a price box is selected.
Phase 2: Applying the Layout via Publication
1. Navigate to Publication
-
Click on the New Publication selection under the +Add button in the main menu.
2. Select Layout
-
When selecting the layout, look to the far right to find the Custom selection.
-
Select the specific Custom Zone layout you created in Phase 1.
3. Select Screens & Publish
-
Choose the specific screens you want this Custom Zone applied to.

-
Click Publish to send the layout to the screens.
⚠️ Important Notes: POS Integration
Price Syncing: Prices will automatically sync from the POS by location. Ensure that you have added our integration to your POS account and that all intended store locations have been enabled.
Item IDs: You must ensure the Item ID used in the dashboard matches the ID in your POS for the sync to work across different locations. If Item ID's are not consistent across locations, this function will not be able to pull prices.